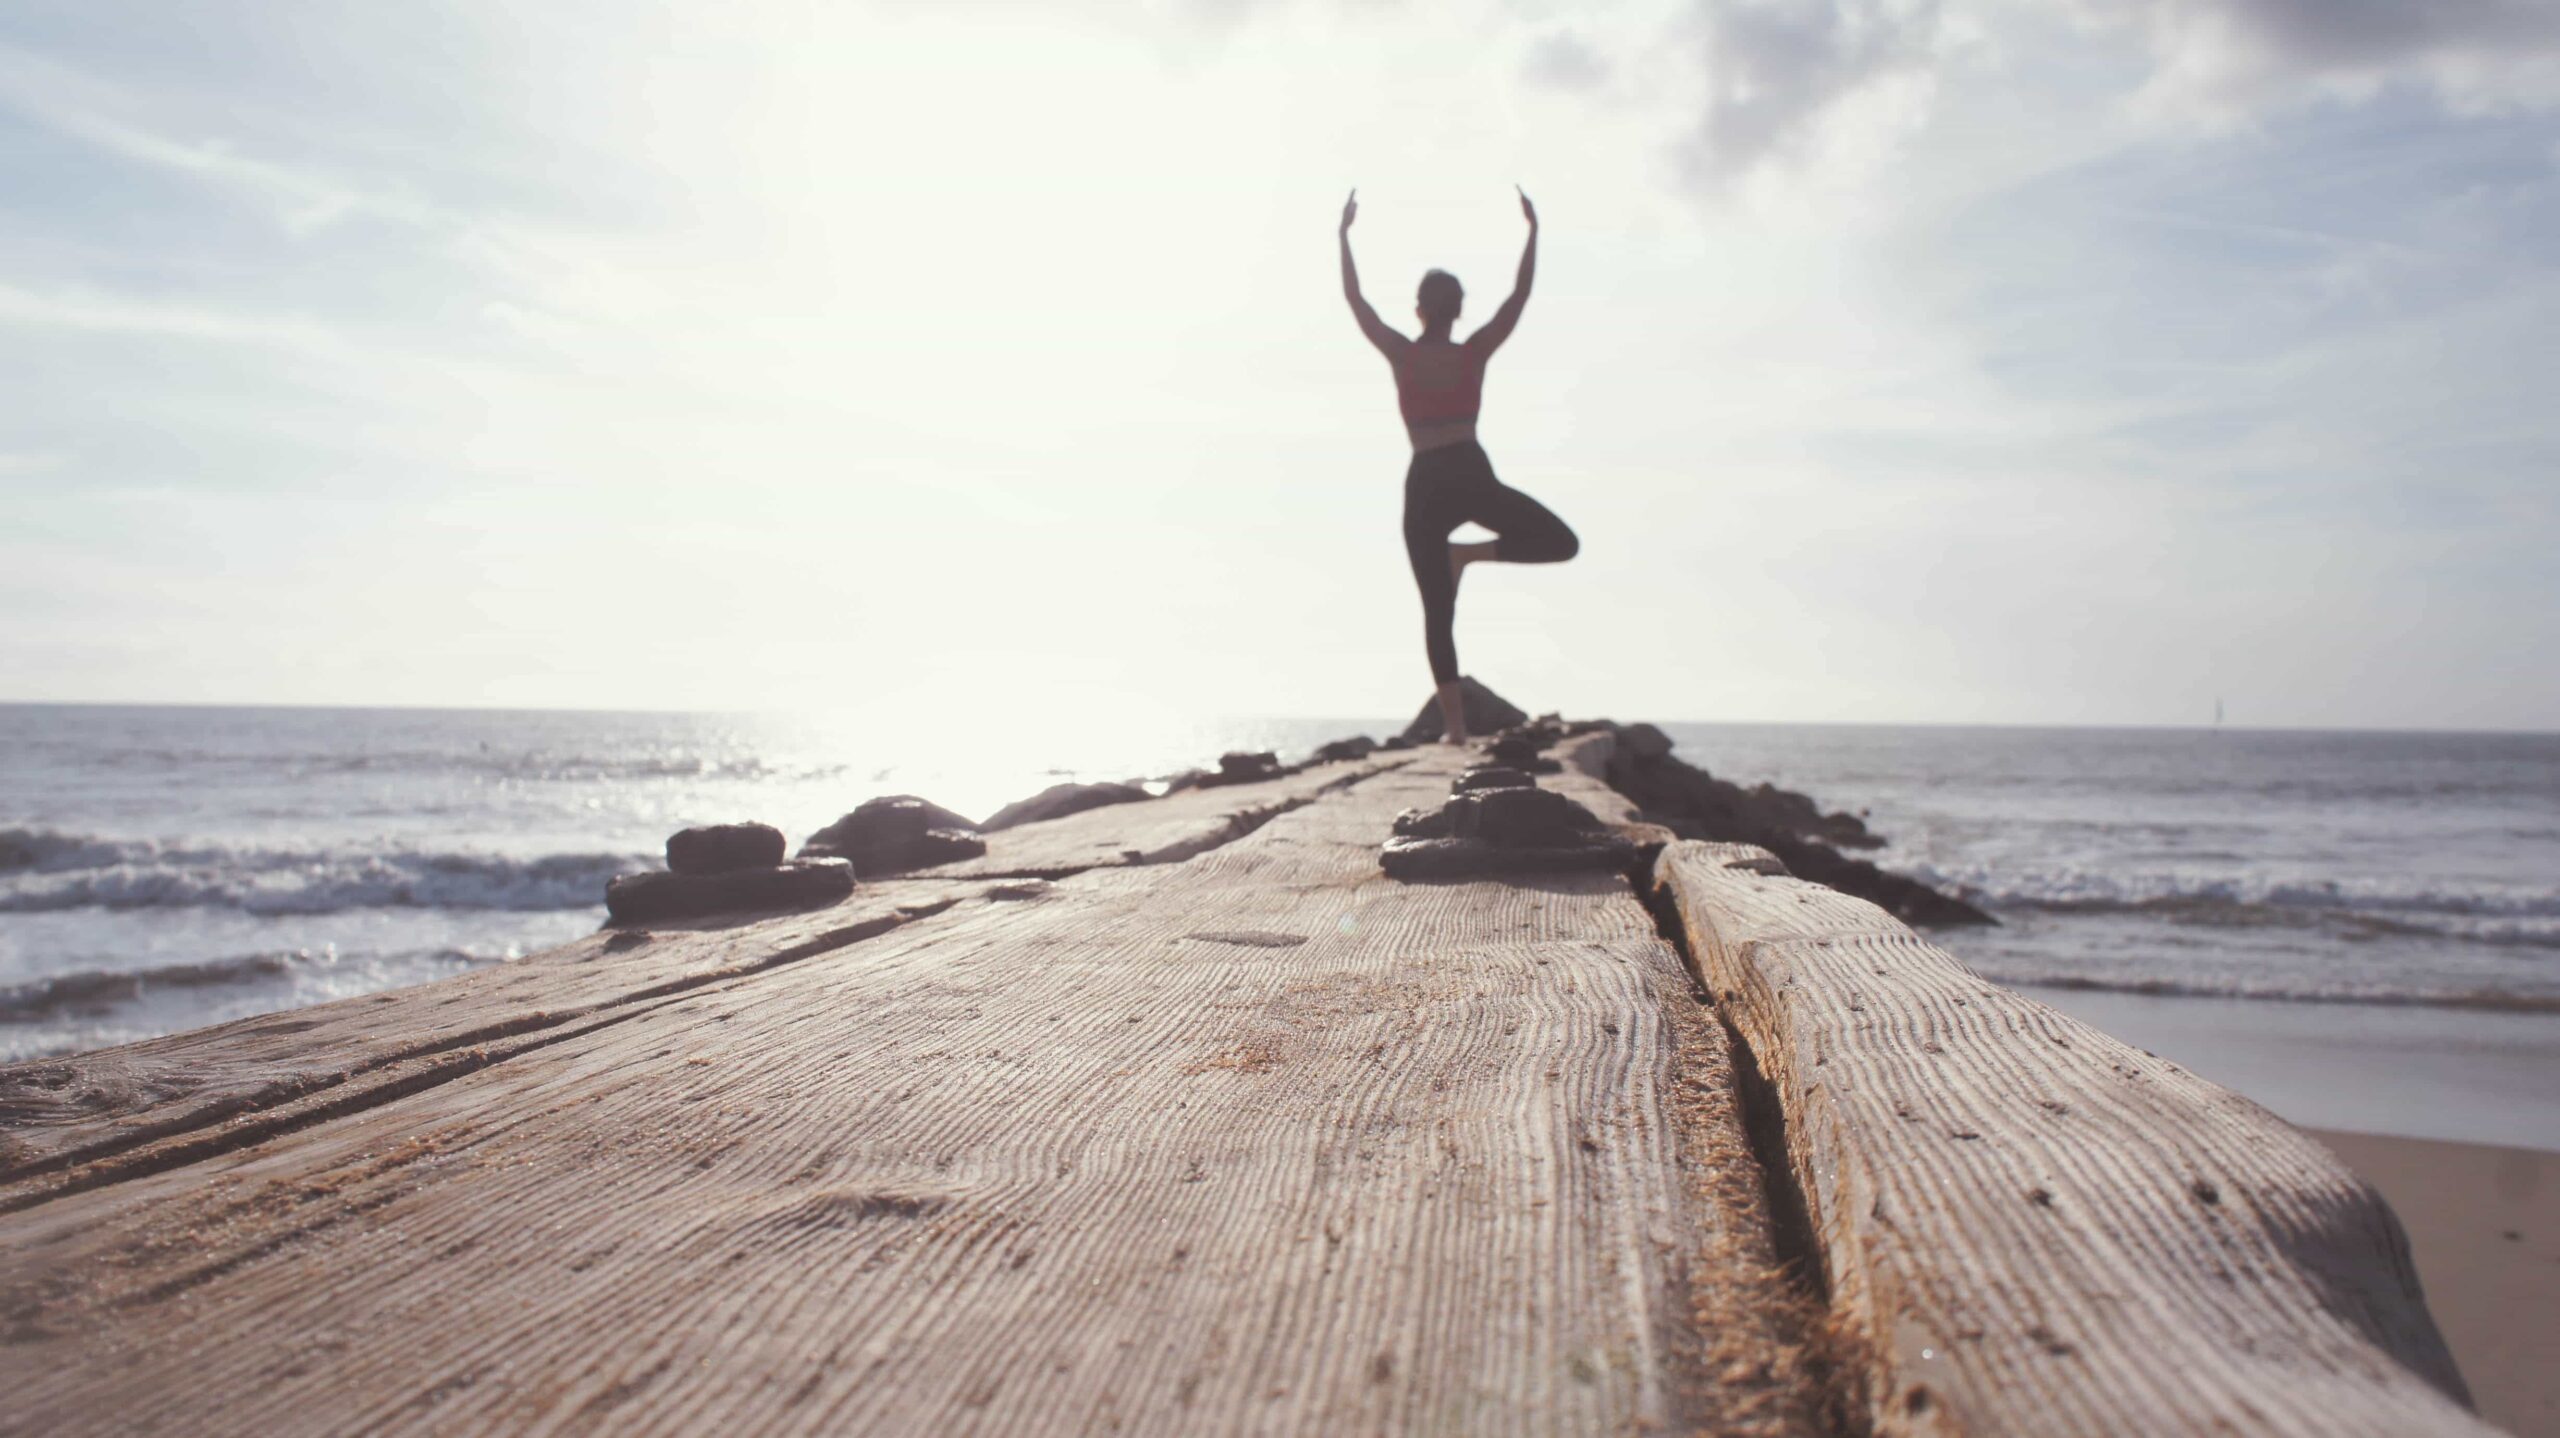
Foam Rolling Exercises
When you first start foam rolling on a regular basis, you need a few good routines to start off with.
Before you jump into this, you might want to read our other guides on foam rolling here and here.
You can also get the free app Move Well to help coach you along with some of these exercises.
Where To Start with Foam Rolling Exercises
Start with the Central Nervous System (spine). By starting with the spine, you allow your body to relax, reprogram and reset. We want the body to go from a sympathetic state (fight or flight) to a relaxed parasympathetic state (rest, relax and repose.)
Again, when performing these roll outs, travel at a slow, smooth pace. Breathe with your movement and take the time to feel your body’s responses.
Back Foam Rolling Exercises
- Laying on the ground, face up, the foam roller will be perpendicular your body, directly behind your shoulder blades.
- With your right hand, grab your left shoulder. Then do this with the opposite (your left hand grab your right shoulder) much like you are hugging yourself.
- Point both elbows straight to the sky, lift your hips a couple inches from the floor.
- Tilt your head backwards (back of head towards the floor), take a big breath, exhale and slowly start to roll your body up – forcing the roller to travel down towards your glutes.
- The first couple of rollouts, I would suggest traveling halfway down your back and then returning back to your original start position. As you feel out your body and get a couple of cracks/adjustments (or maybe more), you can start playing with traveling lower down your spine.
- After performing multiple rolls up and down your spine, you will start to notice where stress is primarily being held. You will be your best judge for how much or little your body needs. At this point in time you can start pinpointing, taking mental notes about these hot spots, and continue to work on these spots over the next several times you foam roll.
- More than likely, there are going to be several spots on your body where knots have formed causing for significant discomfort. The remedy is to stay on those points, to breathe through them for 5-10 good breaths.
Anterior Chest & Shoulders (Passive)
- Laying on your back, the foam roller will be running parallel with your spine. (neck to tailbone.)
- While laying on top of the roller, allow your head to drop back towards the ground. (If contact cannot be found, place a blanket or pillow behind the head so that there is no discomfort on the neck.)
- Keep the knees bent, roughly 90 degrees; however if it is more comfortable to keep them semi-straight or more bent, please listen to your body and find what position suits it best.
- Hands will be on the ground, palms slightly facing the sky and elbows extended.
- Once in this position, breathe and maintain for the next several minutes (4-6 minutes is ideal.)
This passive stretch, combining gravity and the roller will start to allow your anterior chest (pecs) to start to lengthen. Poor posture, especially in the upper torso is commonly attributed to pectorals muscles being too tight and shortened.
By laying on the foam roller, the back muscles/scapular muscles will begin to relax, shorten, and allow/aid in the chest/pecs to open, breathe, and lengthen.
Foam Rolling Exercises for your Lats
- Your body should be stacked shoulders over one another, hips stacked and legs slightly separated/staggered allowing for a comfortable side position.
- The foam roller will start on the floor, perpendicular to the lats. Just one to two inches under your armpit.
- The arm closest to the floor (we’ll call this the active arm because it is the side we will be working on) will be straight out in front of you, roughly eye-level. (Not overhead)
- The shoulder and active arm should be relaxed and extended in front of you.
- After maintaining the original position for roughly 30 seconds, start to tilt your body forward and backwards to the floor. (Belly slightly rocks towards the ground and then reverse and tilt your back towards the ground much like a seesaw motion.)
- Less is more, go slow with your movement, be particular, and do your best to listen to your body’s feedback.
After another 30 seconds of tilting (about 5 x there and backs), stack your shoulders and hips once again. Slightly bend the knees, press through the legs and travel your body up forcing the roller to travel down (towards your hips) just an inch or two. Your body will let you know when you have found the next hot spot, I promise.
- You will continue this cycle until you arrive approximately around you mid-ribs. At this point in time, you will no longer tilt.
- Pulling through the arms or even pressing with the top free arm you will draw your body down forcing the roller to travel back up the lat to the original start position. You are going to get a good amount of sensation. As always, breathe, listen, take notes.
- Once arriving back at the origin, repeat the rollout towards mid rib and back to the origin, no tilting, 3-5 times.
- Once completed, take a walk, grab some water, hydrate your body, flush out some of that gunk you have broken up and put your arm through some range of motion drills. (Arm circles or lie down and reach overhead.) Movement and motion will be your best friend after rolling out.
- Now switch it up and repeat. Have fun and heal on!
Foam Rolling Exercises for your Glutes
- The foam roller will be perpendicular your body and you will be sitting on top of it.
- Place one of your glutes (cheeks) on the majority of the roller (we’ll label this glute as the active glute/active side)
- Keep your knees bent roughly 90* and feet planted firmly on the floor.
- One or both hands can reach behind you to help create support and stability.
- Take one leg, place an ankle on top/just above the opposite knee.
- Tilt the entire body towards the active glute so the majority of body weight is placed on the active/targeted glute.
- Hold position for roughly 1 minute.
- After completion of the minute, take liberty and start to slowly move the body around keeping the pressure constant.
- Tilt back and forth, side to side, even changing the angle on the active glute.
- Sure enough, hot spots will present themselves and when they do, hold position for 30 seconds to a minute.
- Continue this process for 2-3 minutes or until you are satisfied with your efforts.
- After completion of one side, walk around. Movement will be your guide on helping reset the targeted glute, teaching your body and other glute how relaxed and freely it should be moving.
- After a drink of water and some movement, switch sides and repeat.
Foam Rolling Exercises for your Quads
- Starting in a prone position (belly to the floor) the roller will be perpendicular your body.
- The roller will start just a couple inches under your hip on the front side of your leg (quads/thigh)
- Place one thigh on the majority of the roller (active leg) and either place the opposite leg on top of the active leg (if you’re feeling like a Spartan) or bend the opposite knee 90* and use it as a post to help support and aid in eventually traveling up and down the roller.
- Arms can be straight, with palms on ground, but I find it easiest to keep the elbows bent in a 90* position (low plank style.)
- Once the first hot spot has been found, maintain static position on it for at least a minute.
- After the hot spot has started to relax/give, slowly tilt your body left and right (left/right hip towards the floor in a slow rocking motion.)
- At any point in time, if you discover knots, tight muscle, or hot spots, hold position, breathe, and relax the body as much as possible. When discovering these little “hot” gems, feel free to maintain a static hold on them for 20 seconds before continuing the tilt back and forth,
- After 2-3 minutes find your body flat with the floor, like the start position, press through the arms and travel your body up, forcing the roller to travel down your quad.
- After traveling an inch or two, your body will inform you of the next hot spot. At this point in time, repeat the same protocol as the previous.
- After completing the entire thigh, you will end just a couple inches above the knee joint. Once reaching this end position, keep your body flat, pull through the arms or press through the opposite leg and travel the roller back to its start/origin.
- After reaching the origin, maintain the body flat and travel the roller down towards the knee and back to the hip multiple times over the next minute. (3-6 full roll outs.)
- After completing the set amount for your body, take a nice walk to the water station, drink up, stretch or put your leg through some ranges of motion (squat, crouch, lunge)
- Time to repeat the opposite side.
Foam Rolling Exercises for your Calves
- Start sitting on the floor, the roller perpendicular and underneath an ankle.
- Both hands can be planted slightly behind you to help keep you supported & upright.
- Taking the opposite leg (non active leg) place it on top of the active leg. (if this is too aggressive feel free to leave it off and to the side.)
- Start static just an inch above your ankle joint for a minute. After time expires, start to rock and roll your active leg & foot left and right.
- After another 30 seconds – minute, find static once again.
- Using the arms, lift your hips and body a couple inches off the ground and push/move your body down forcing the roller to travel up the calf just an inch or two.
- As per usual, your body will respond letting you know where the next spot that needs a little love is.
- Once you’ve found a new spot, repeat the prior instructions.
- After finishing the calf, ending just under the back of the knee joint, lift the hips off the ground and travel the body up forcing the roller back towards the ankle.
- Repeat the roll out for the next minute or 3-6 times.
- As per usual, upon completion is it highly advised to walk around, hydrate, and put the targeted area through some range of motion.
- Repeat the opposite side when ready.
Foam Rolling Exercises for your Ab/Adductors
- Starting in a prone position (belly to the floor) one leg will be 90/90 or frog legged. (Your inner thigh against the floor, knee hip and ankle directly under your knee, creating a 90* angle in your hip and knee.
- The roller will start just a couple inches away from your hip, roughly three quarters up your inner thigh (abductors)
- Use both forearms as supports, slowly move the roller from the high inner thigh through the mid inner thigh, concluding just above the inside of the knee joint.
- After traveling through this range of motion for roughly a minute, modulating the pressure and speed as need be for your body, start pausing and listening for hot spots.
- Once the first hot spot has been found maintain static position on it for at least a minute.
- After the hot spot has started to relax/give, slowly tilt your body left and right (left/right hip towards the floor in a slow rocking motion.)
- Once the tissue seems to have relaxed, slowly extend at the knee until the knee joint is semi-locked out. Repeat this bend and extend motion 3-5 times.
- When you discover more knots, tight muscle, hot spots, hold position, breathe, and relax the body as much as possible.
- After you have had your fill or 4 minutes has passed, it’s time to walk around and let your body adjust. Hydrate and stretch/put your leg through some ranges of motion (squat, crouch, lunge)
- Time to repeat the opposite side.
Foam Rolling Exercises for your Double Calves (Passive)
- Start Position: Sitting down, knees on ground, hips over knees, toes pointed away from body (top of feet on the floor) (no shoes)
- The foam roller placed just above or superior the heel cord (achilles).
- Slowly sit back and down until bodyweight is partially or fully into the foam roller. Use your best discretion.
- After a minute, start to shift and tilt left to right to create lateral force on the tissues. Perform the lateral motion for roughly twenty seconds.
- Lift the hips above the knees, roll the foam roller up the calves an inch and slowly sit back down maintaining the roller in its new position with your hands until full or partial body weight is back on the foam roller.
- Repeat steps 3-4. Upon completion, continue to work the roller up the calves until the meatiest part of the calf has been rolled out.
- After completion of the calves, it’s time to walk, hydrate, laugh with friends, post a review on face space and enjoy!